Belgian road signs become much easier when you stop learning them as one enormous list. Start with the family, then read the symbol, and finally check whether a supplementary panel changes the scope.
This guide describes the rules in force in July 2026. Belgium’s new Code of the Public Road is scheduled for 1 June 2027, so always check the latest official code before your exam.
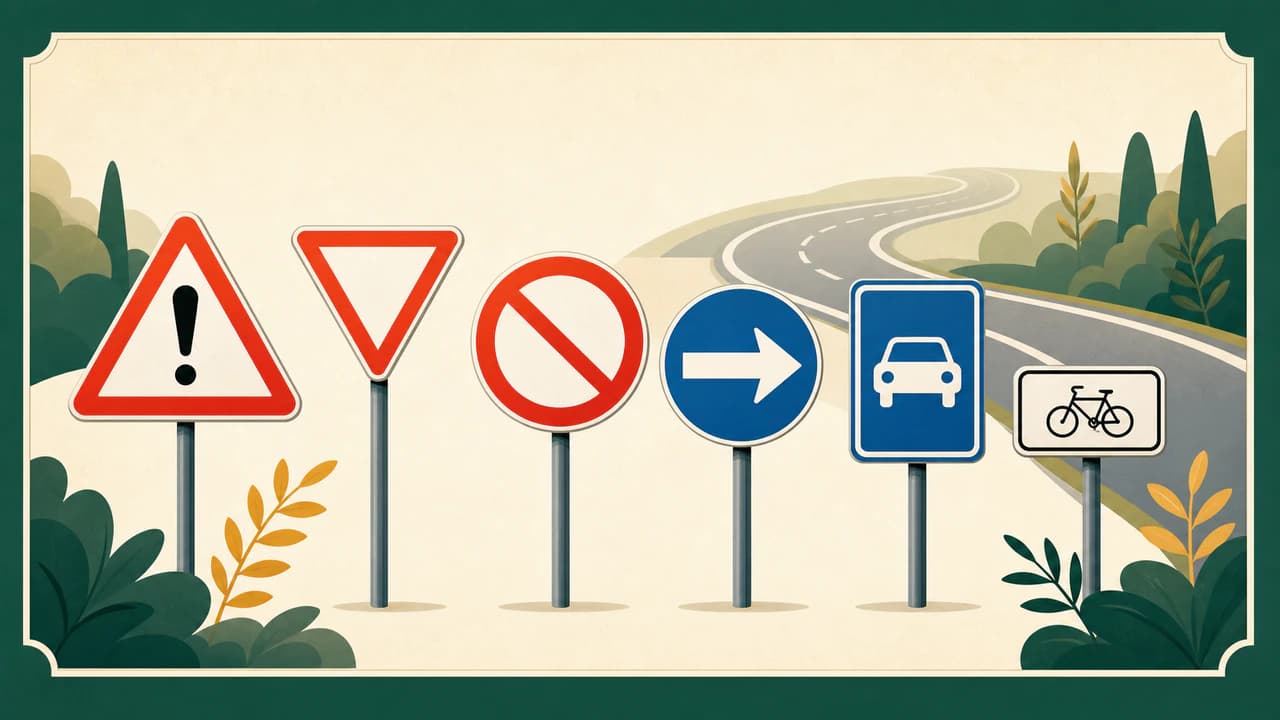
The six sign groups you should recognise
1. Danger and warning signs
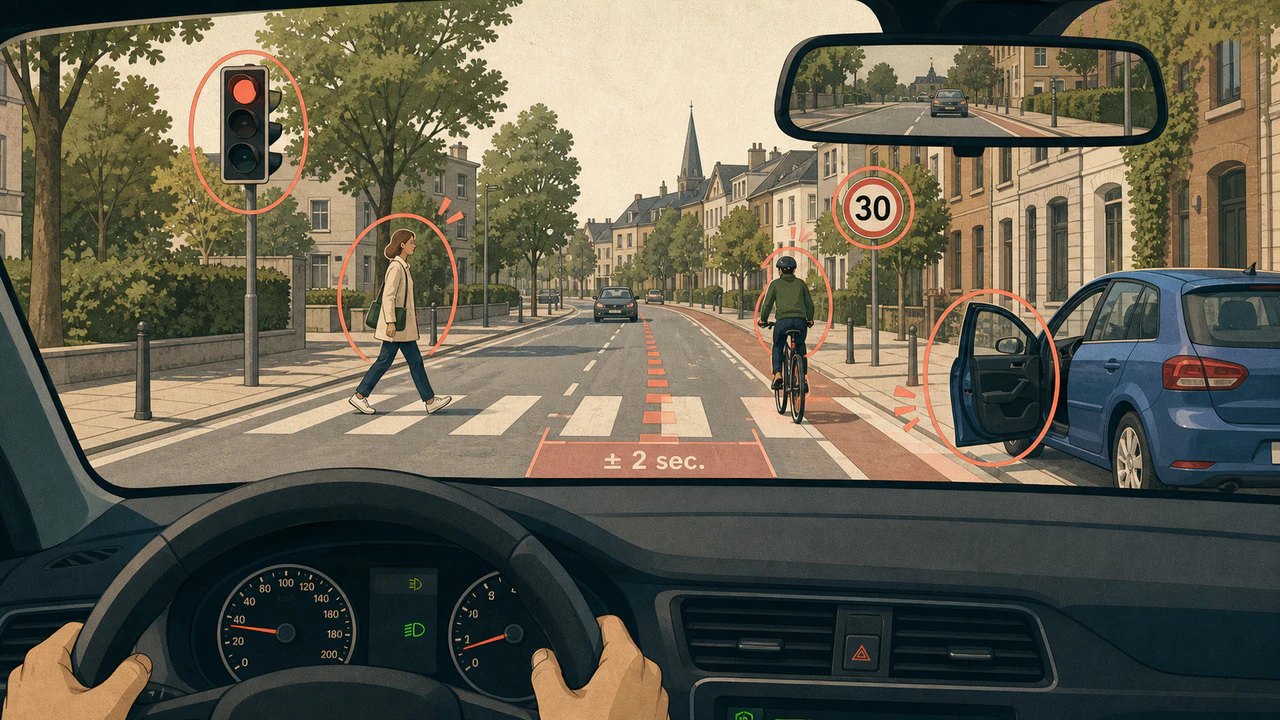
Most warning signs are triangles with a red border. They announce a risk ahead rather than giving permission. Important examples include a dangerous bend, crossroads, traffic lights, road works, children, cyclists, pedestrians, a slippery road and a level crossing. Your response is not simply “slow down”: look farther ahead, identify where the danger can appear and create enough time to stop.
2. Priority signs
Priority signs decide who passes first. The most important are:
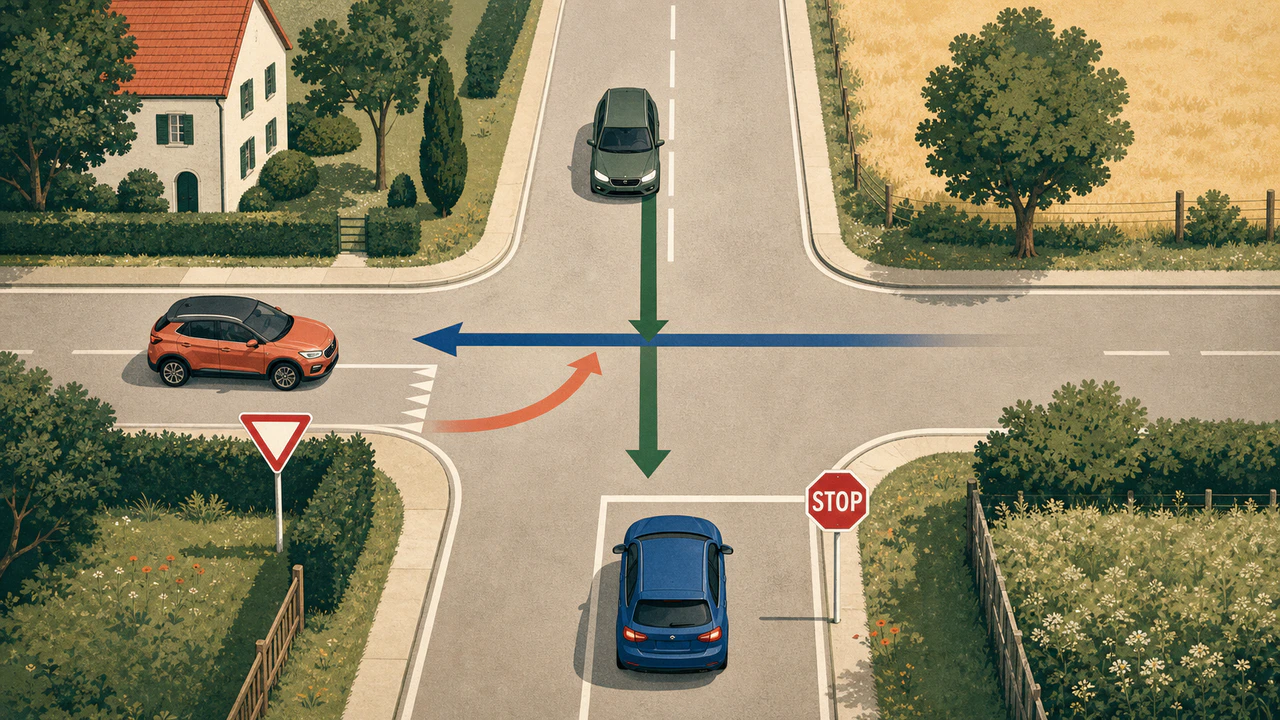
- Give way: the inverted triangle means you must yield if necessary.
- STOP: stop completely at the stop line or, if there is none, where you can see safely; then yield.
- Priority road: the yellow diamond means you keep priority at following intersections until an end sign changes it.
- Priority at the next intersection and the paired narrow-passage signs: read which direction has priority, but never force your way through.
When no authorised agent, traffic light or priority sign settles an intersection, the general priority-to-the-right rule may apply.
3. Prohibition and restriction signs
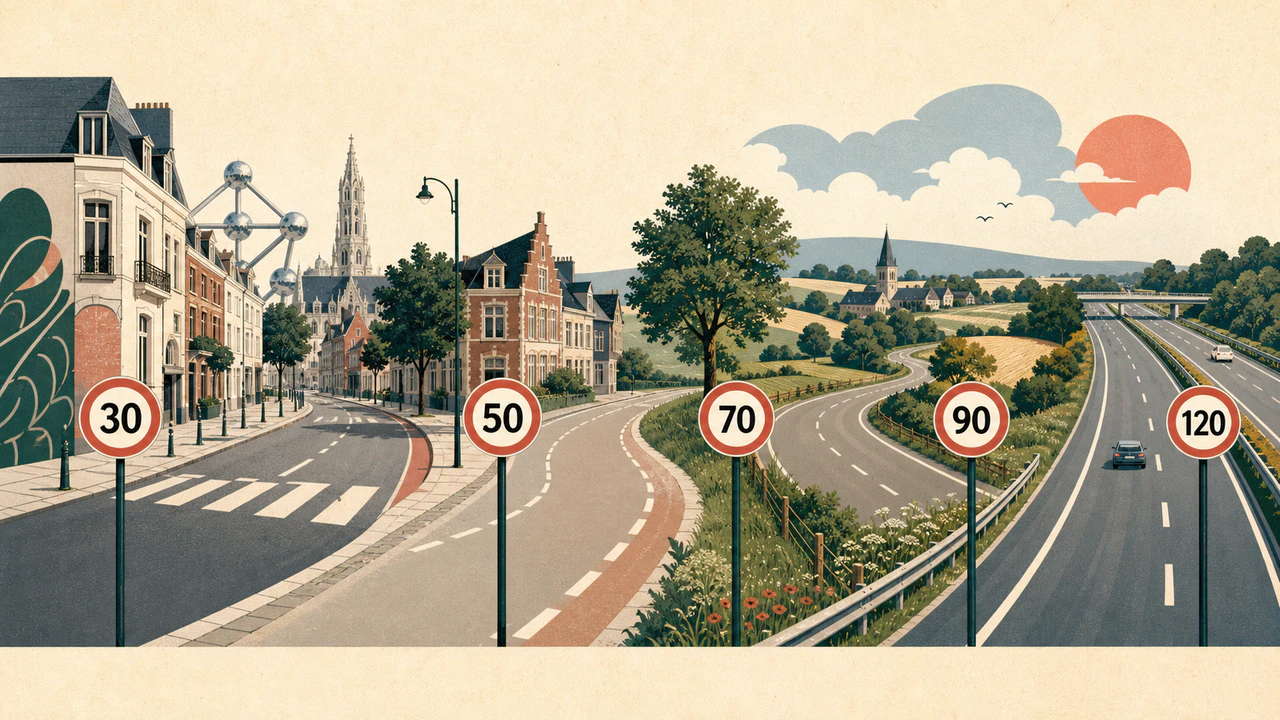
These are usually round with a red border. They tell you what is forbidden or limited: no entry, closed to all vehicles, no overtaking, maximum speed, maximum mass, width or height. A speed sign sets a maximum, not a target. Conditions can make a lower speed necessary.
Do not confuse no entry with closed to traffic in both directions. The first controls entry from one side; the second restricts the road for the vehicle categories shown.
4. Mandatory signs
Most mandatory signs are blue circles. They require an action or route: pass on the indicated side, continue in a direction, use a cycle track, or follow a route reserved for certain users. A blue circle is an instruction, not general information.
5. Stopping and parking signs
The blue circle with a red border and one red diagonal means parking prohibited; the red cross means stopping and parking prohibited. Arrows and supplementary panels can show where a restriction begins, continues or ends, which vehicle categories it affects, or when it applies.
Parking signs also indicate authorised parking, paid zones, residents’ conditions and spaces reserved for disabled permit holders. Road markings and local panels remain part of the instruction.
6. Information and indication signs
These signs identify places or facilities and explain how the road is organised: motorway, road for motor vehicles, one-way road, pedestrian crossing, hospital, parking, residential area, pedestrian zone or tunnel. “Information” does not mean optional; entering a motorway or residential area activates specific rules.
Supplementary panels, markings and temporary signs
A panel under a sign can narrow its distance, direction, period or vehicle category. Read the main sign first and the panel second. Yellow-orange temporary markings and work-zone instructions can replace the normal layout. Police directions and traffic lights also sit above ordinary signs in the practical hierarchy: follow the instruction that currently controls the situation.
The signs most often confused
| Pair | Reliable distinction |
|---|---|
| Give way / STOP | Yield permits continuing when safe; STOP always requires a full stop. |
| No parking / no stopping | One diagonal forbids parking; the cross also forbids voluntarily stopping. |
| Mandatory direction / one-way information | A blue circle commands movement; a rectangular indication describes the road. |
| End of restriction / new limit | An end sign releases the named restriction; it does not erase other general rules. |
A four-step exam method
- Identify the family from shape and colour.
- Name the exact instruction in plain words.
- Check the panel, lane, arrows and road markings.
- Decide what must happen now: stop, yield, slow, choose a lane or continue.
Avoid inventing detail that is not visible. Exam questions often test one decisive sign while distracting you with buildings, parked cars or other road users.
How to study signs efficiently
Learn signs in contrasting pairs, practise them inside real scenes and explain each answer aloud. Revisit mistakes by family: if several errors involve red circles, review restrictions together. Finish with mixed questions so you still recognise the family when the sign appears small or at an angle.
Mazlet’s road-sign topic combines short visual explanations with focused questions. It is independent learning material, not an official question bank or government service.
Official check
For the current legal wording, consult the Belgian road-code portal and the Federal Public Service Mobility. Because the planned 2027 code modernises a number of signs, verify the applicable exam material close to your test date.